2/19/2023 “Making a decorative box with hand tools”
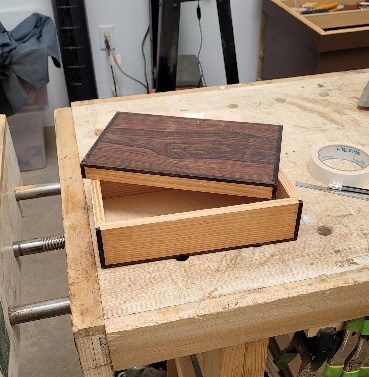
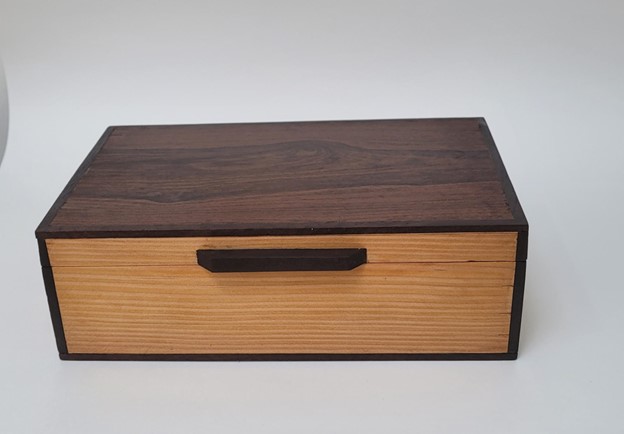
In today’s blog, I’ll discuss how I go about building a box without the use of power tools. It’s a process that’s slower than using power tools, but no less accurate and much more satisfying. This particular box was made for a friend using a piece of ponderosa pine that he had gifted me. It features a figured walnut veneered top, ponderosa pine sides and ziracote trim.

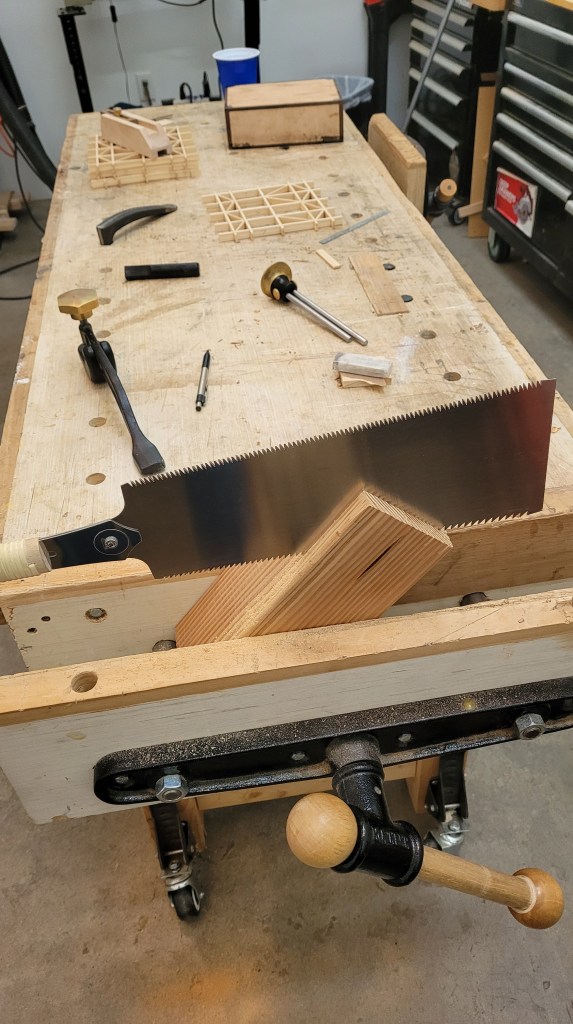
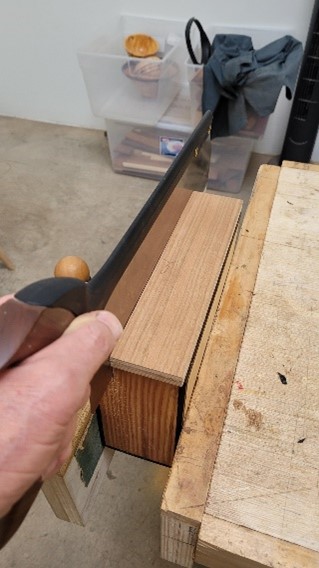
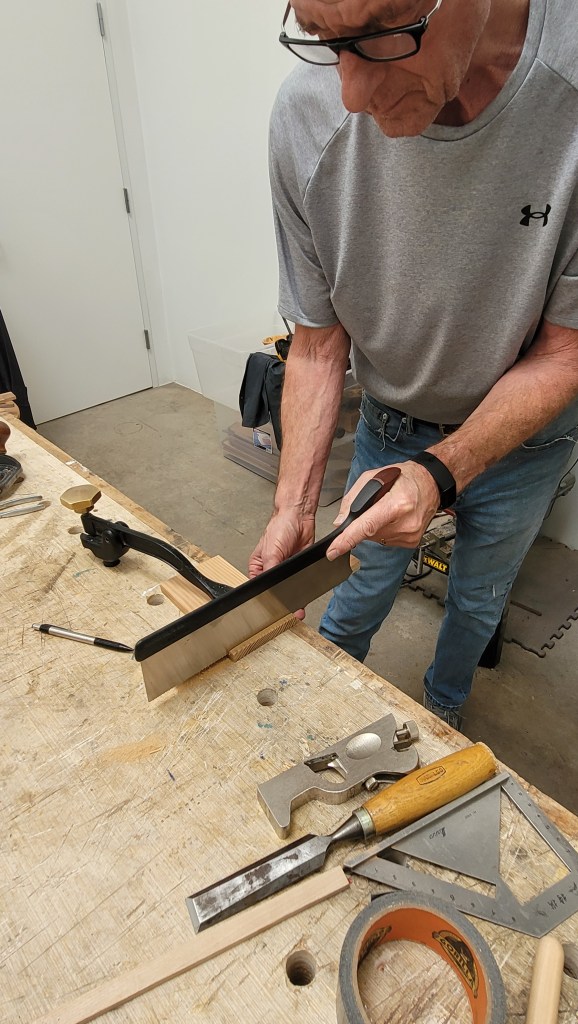
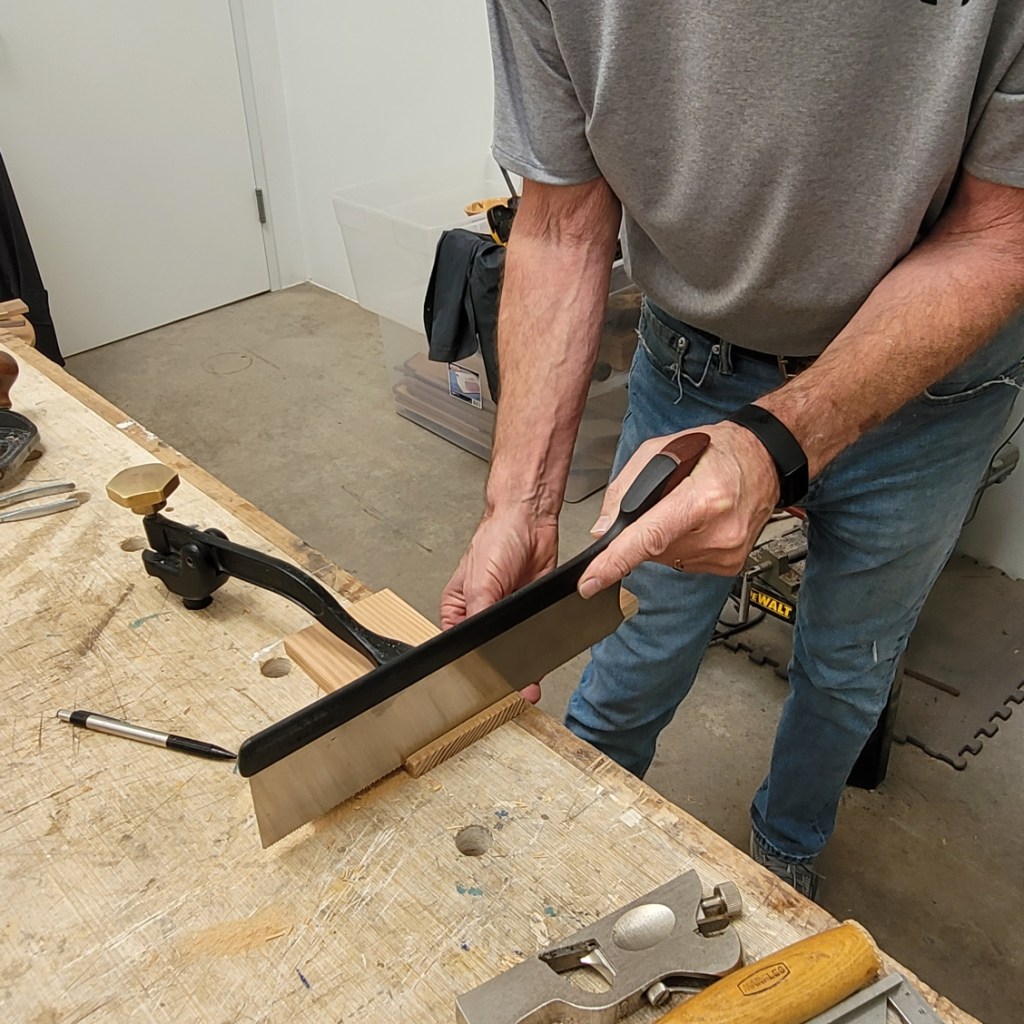
The first step (after thinking through rough box dimensions) is to resaw the pine into slightly over 1/2 inch thick pieces for the box carcass. Here, I’m doing this work using a Japanese pull style saw. It’s a little physically demanding, but I need the exercise! With the pull style saw, I get a thin kerf, but I could have done the job faster with a western style rip saw with 4 1/2 or 5 tpi.
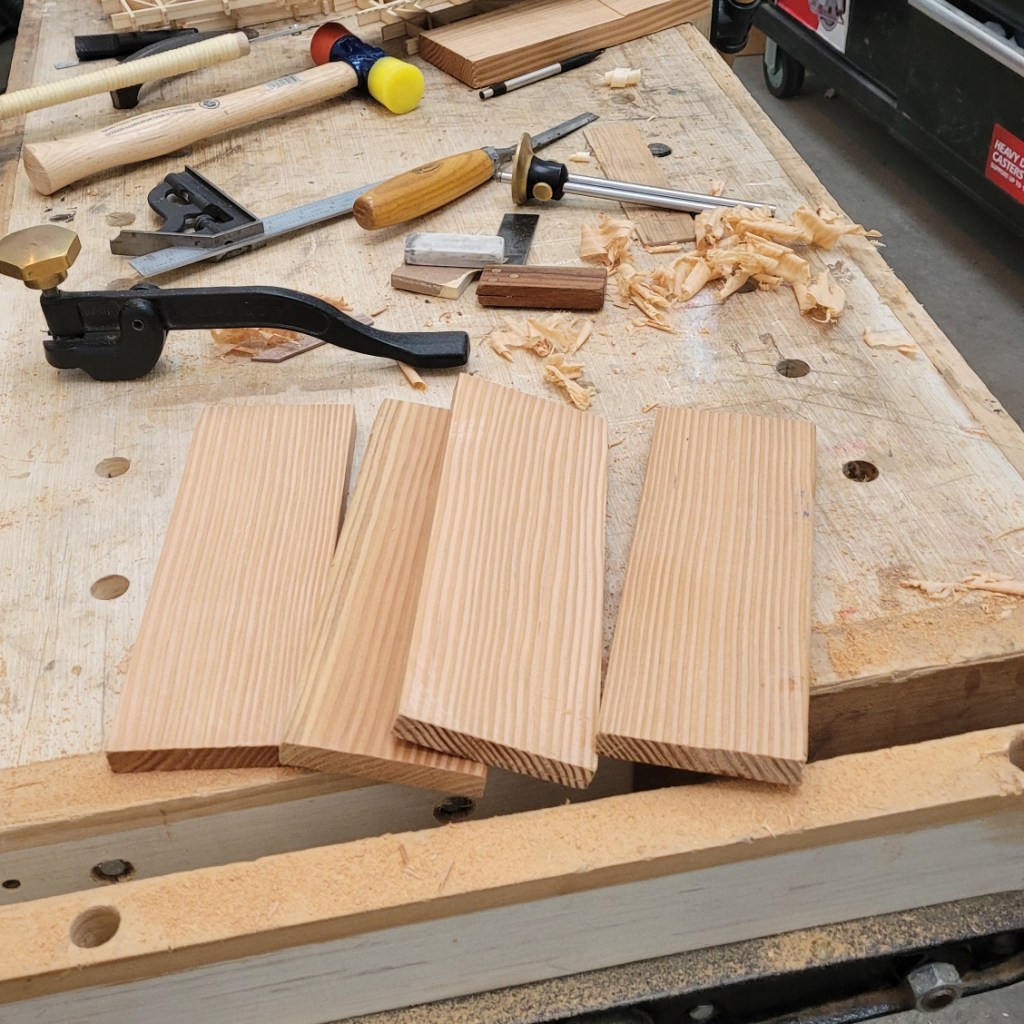
Given that I resawed the pieces a bit thicker than needed, my next step is to rapidly remove the bulk of the excess material using a scrub plane set for an aggressive cut.

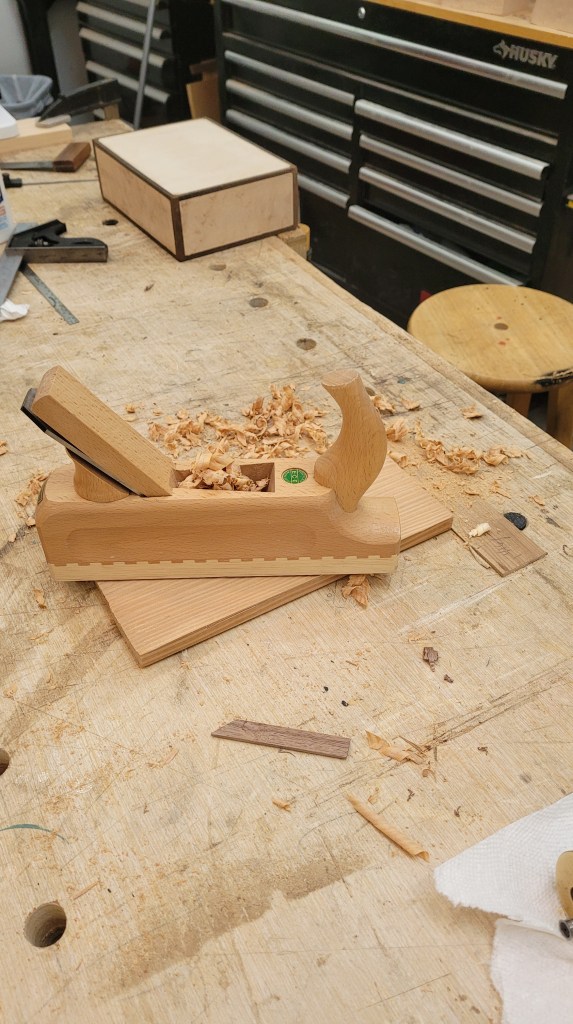
Next I’ll use my veritas low angle jack plane to bring the pieces to final thickness (note that I have a similar box in progress in the background).
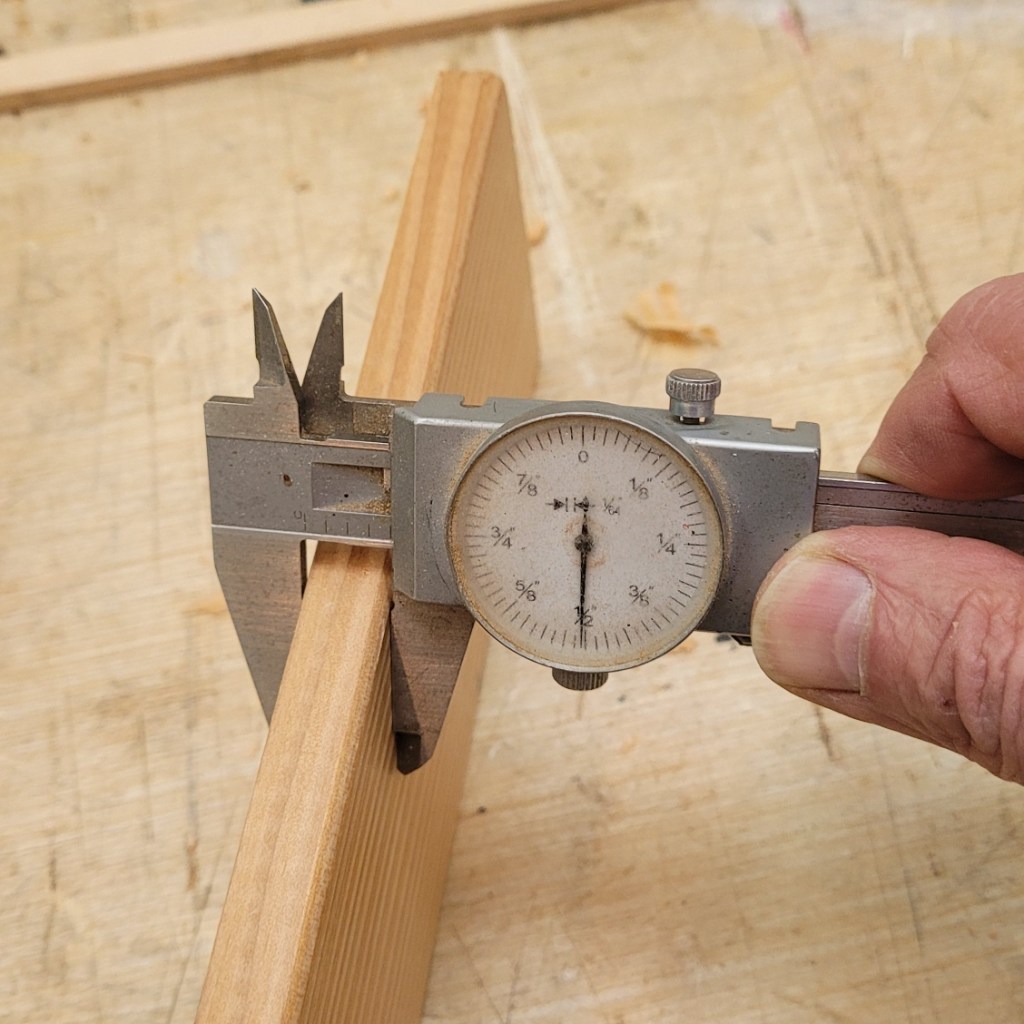
Great. We have the pieces to exactly 1/2 in thick
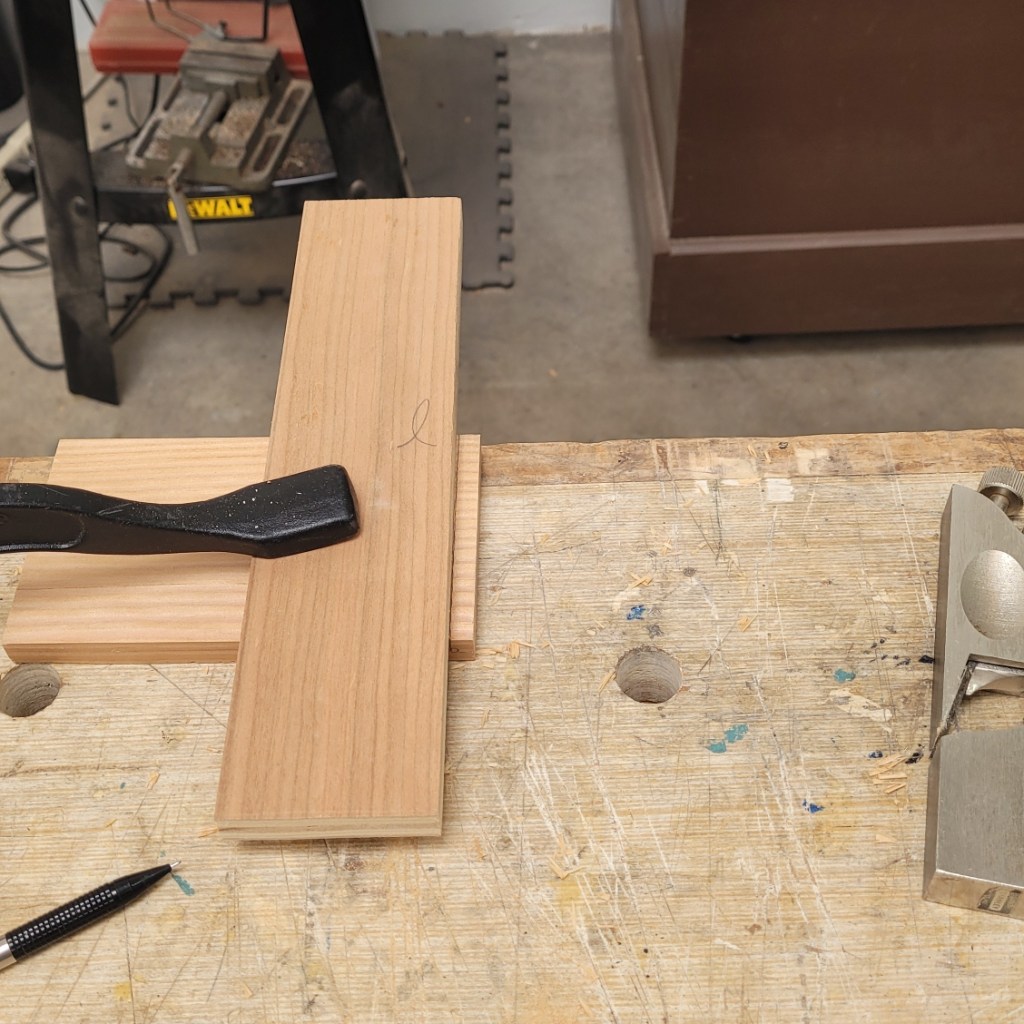
The next step is to cut the 4 box carcass pieces to exact width and length. Here I’ve cut them to rough length and then am trimming them square and to exact length with a shooting board and shooting plane.
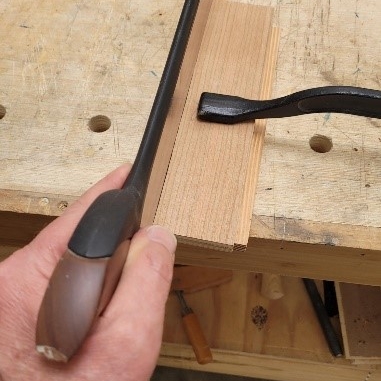
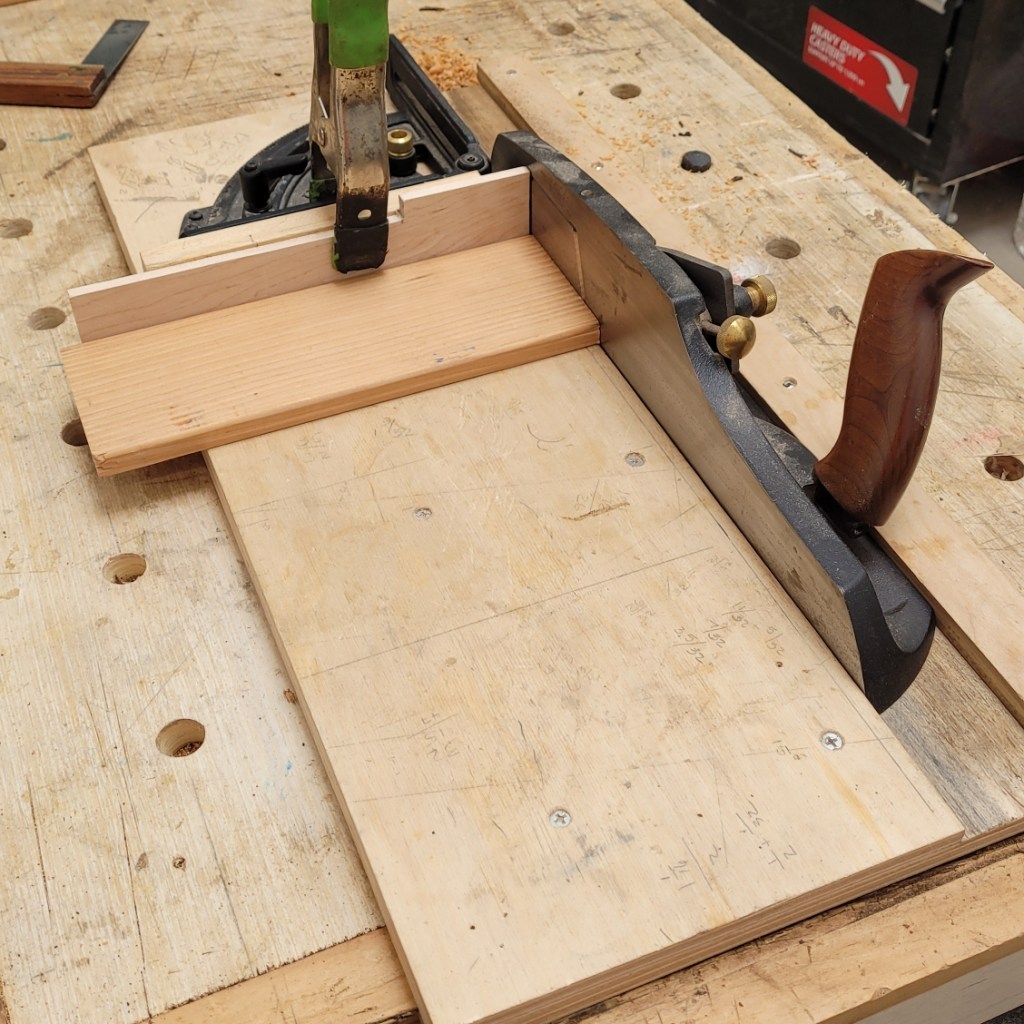
Since we don’t need bullet proof joinery for this box, I’m just going to cut rabbets in the ends of both sides. To do this accurately with hand tools, I clamp a guide to the piece at the precise location of the cut. This will help position the back saw and keep it square to the cut.
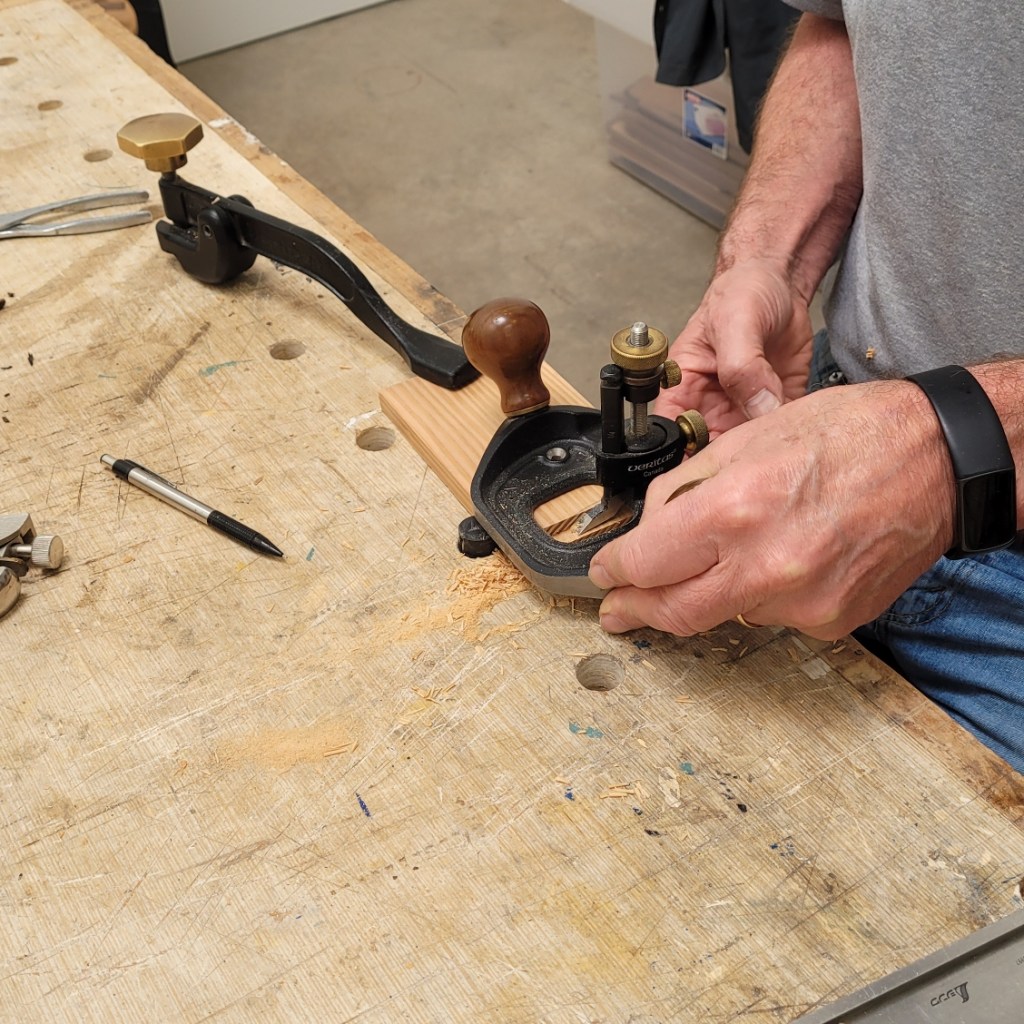
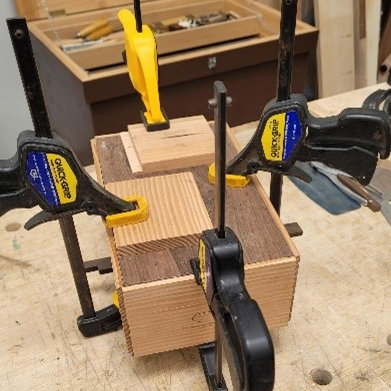
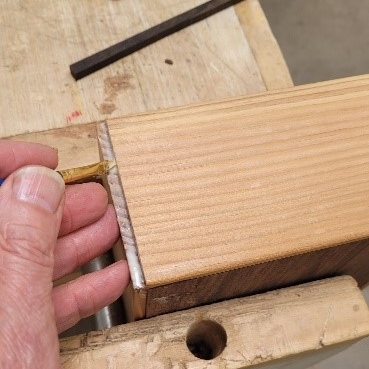
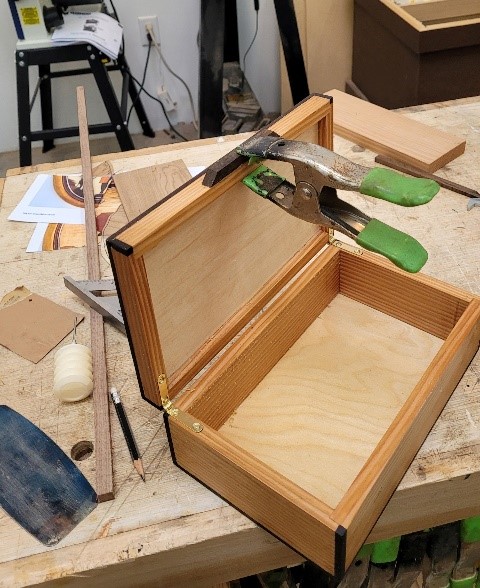
After cutting the rabbets, I establish an exact and uniform depth in each piece with my veritas router plane. Then I can dry clamp them to the front and back pieces and check for square. (Note that I only cut the rabbets 1/2 the thickness of the front and back pieces. This leaves me a 1/4″ x 1/4″ slot on the outside of each corner that I will later fill with ziracote trim for appearance and strength).
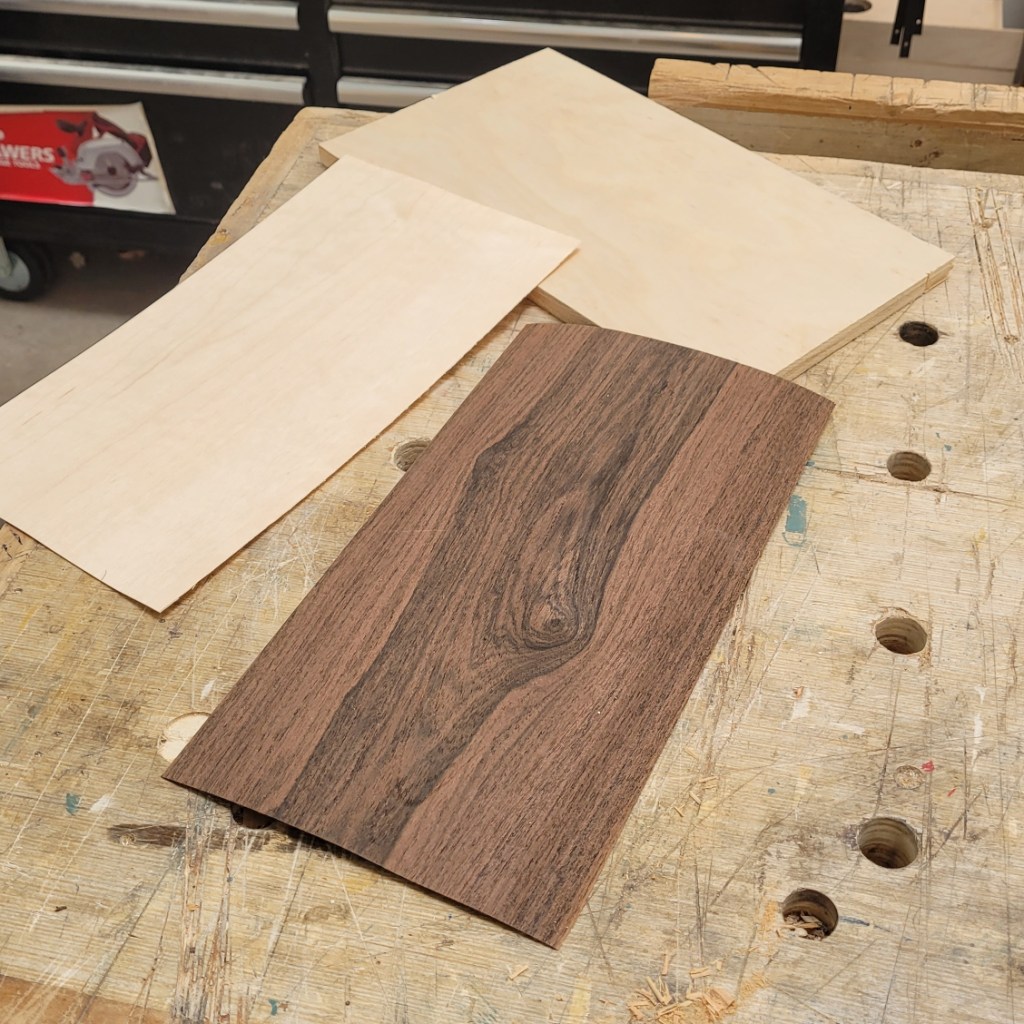
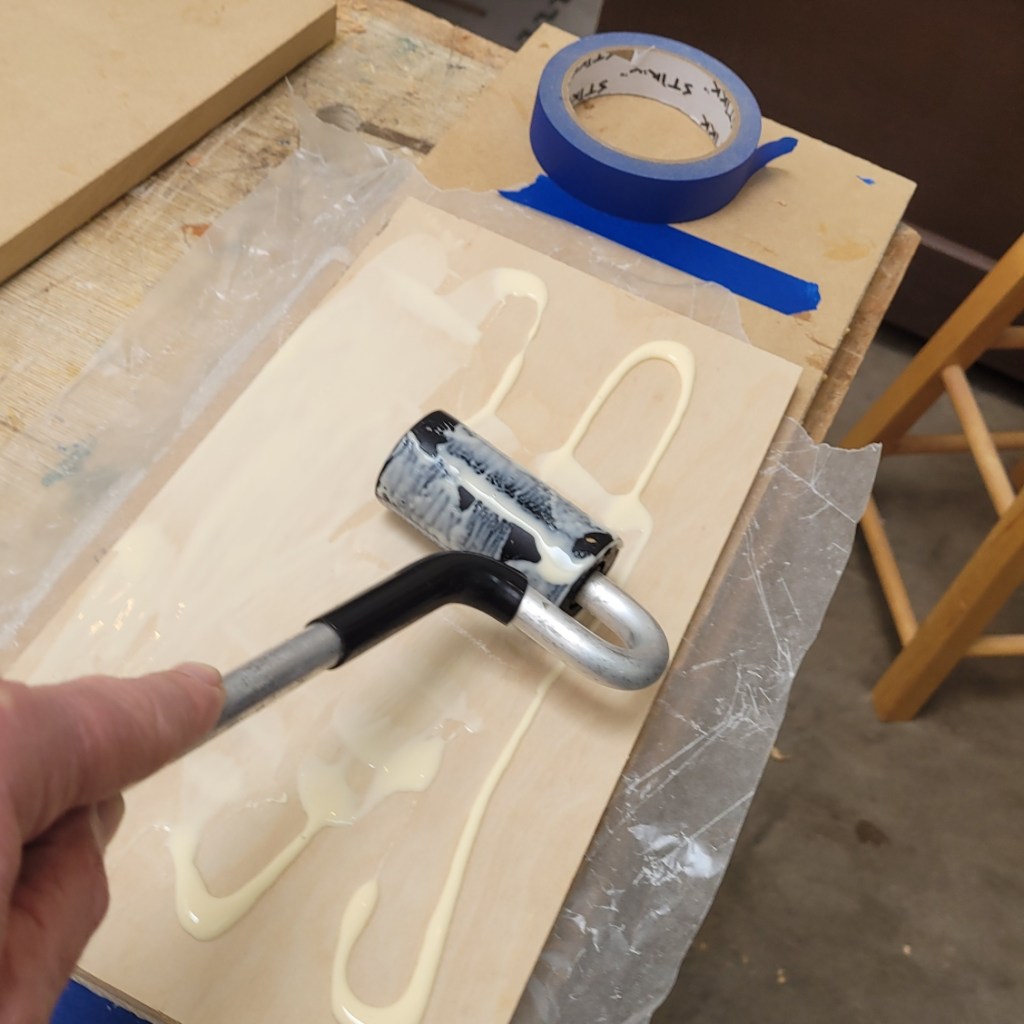
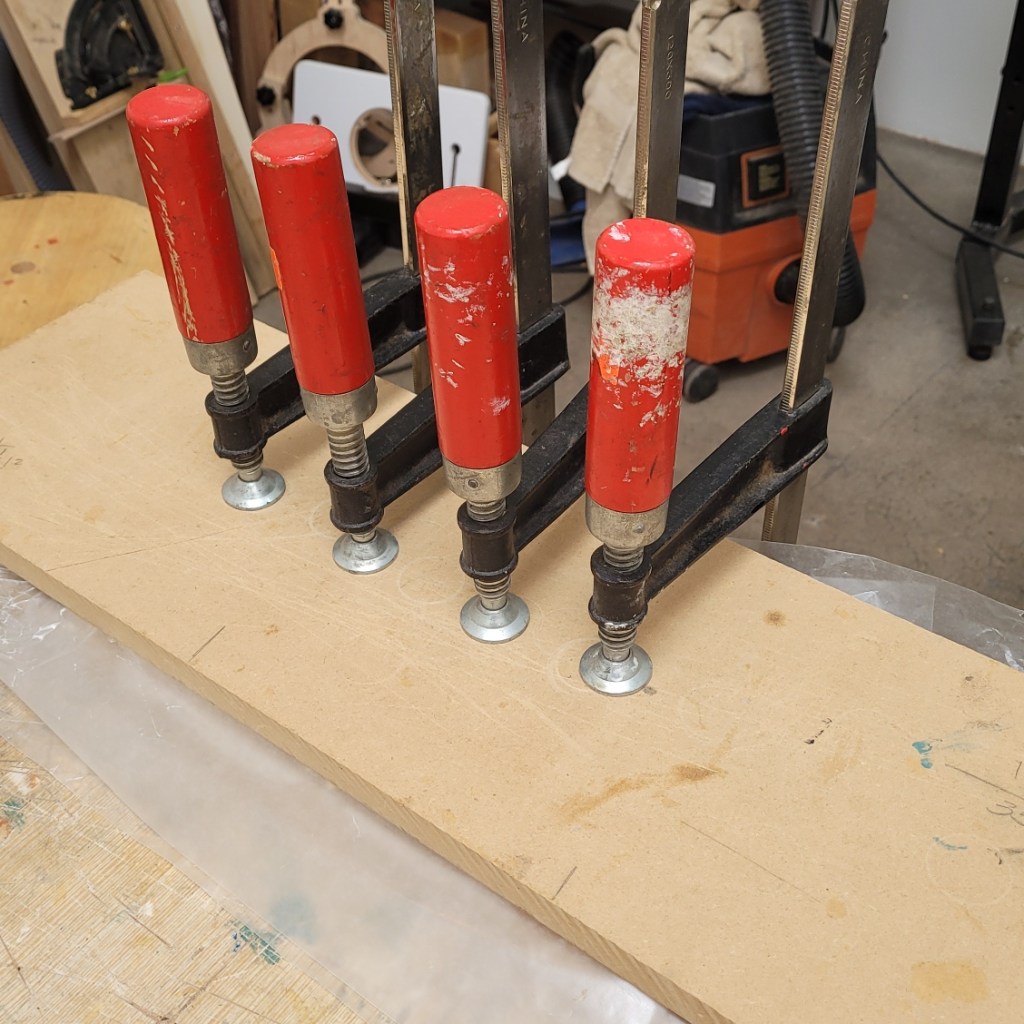
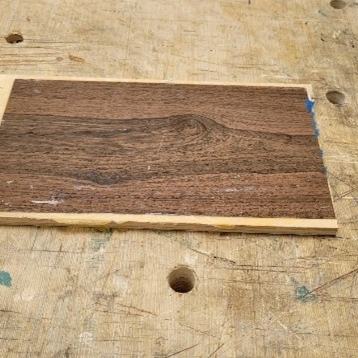
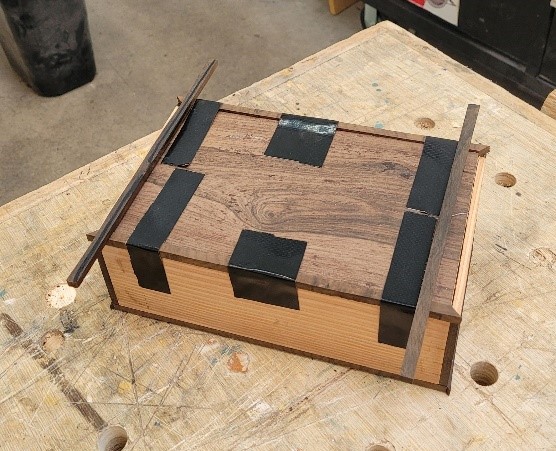
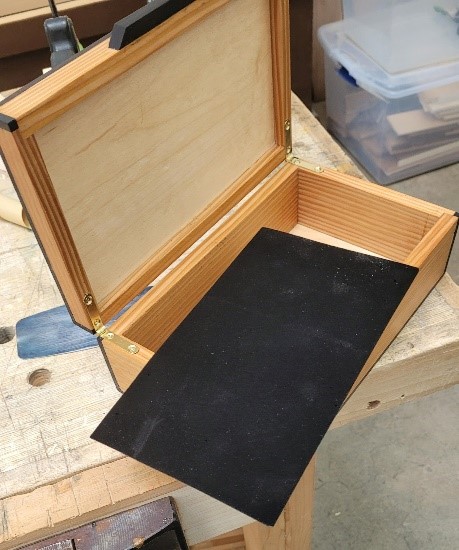
Here, I’ve selected veneers for the lid. Figured Walnut for the top and Maple for the bottom of the lid. I then spread titebond glue on both sides of the plywood substrate, apply the veneers and then clamp the assembly in a makeshift press overnight.